
Scrivener has been my writing tool of choice for a good number of years. It’s got a Swiss Army Knife tool set that’s second to none, and is set up so you can use the features you want, and ignore those you don’t want to use 1.
One feature every Scrivener user will have to use, if an author wants to share their work, is the compiler. If a user can wrap their head around the compiler’s work-flow 2 it’s not difficult to get basic output with a few small tweaks—or even by using the defaults. Basic output can be imported into another application—like Affinity Publisher, Mellel, Pages, or Word3—where final layout can be done. But when you want Scrivener’s compiled output to be the final layout, users need to do a deep dive into the Compiler’s settings. This isn’t a bad thing. In fact, I appreciate how Scrivener has room for different types of work-flows even at the compile step, but it does take more work.
And the format I’ve spent the most time wrestling with is compiling my writing to an eBook. Ebooks allow for some extended features like drop caps and automatically generated tables of contents, but to get the most out of Scrivener’s ePub compiler a user needs to have at least a basic understanding of stylesheets and the ability to read the XHTML output the compiler generates.
For my workflow, here are the tools I use.
- Scrivener 3—for the writing, organizing, and compiling4
- iBooks—for viewing the output
- Sigil—for viewing/editing the CSS generated by Scrivener
Prepping the Project
When you set up your project, make sure to set up different section types in Project==>Project Settings.They way I setup my section types depends on the type of book on which I’m working. Fiction books, for example, will often just have a single level for folders and documents, set up for chapter titles and content sections. Non-fiction works will often contain a number of sub-documents, however, which reflect the needs for different level headings. Take, for example, this project structure for a recent study I created. The project is set up to create a number a studies, so the sub-document which will create a second level heading is at level three. It’s set to default to “story.”

In projects I’m preparing for publication I’ll also tend to have section types for front matter, which may or not appear as default types in the document structure.

Working with the Compiler
After writing, organizing, and editing your material 5 click on the “compile” button or navigate to the File==>Compile menu 6. Select “ePub eBook” as your compile option and then “Default” or “eBook” as your format. At this point, you may see a warning that some of your section types have not be assigned to Layouts, this is where things begin to get tricky.

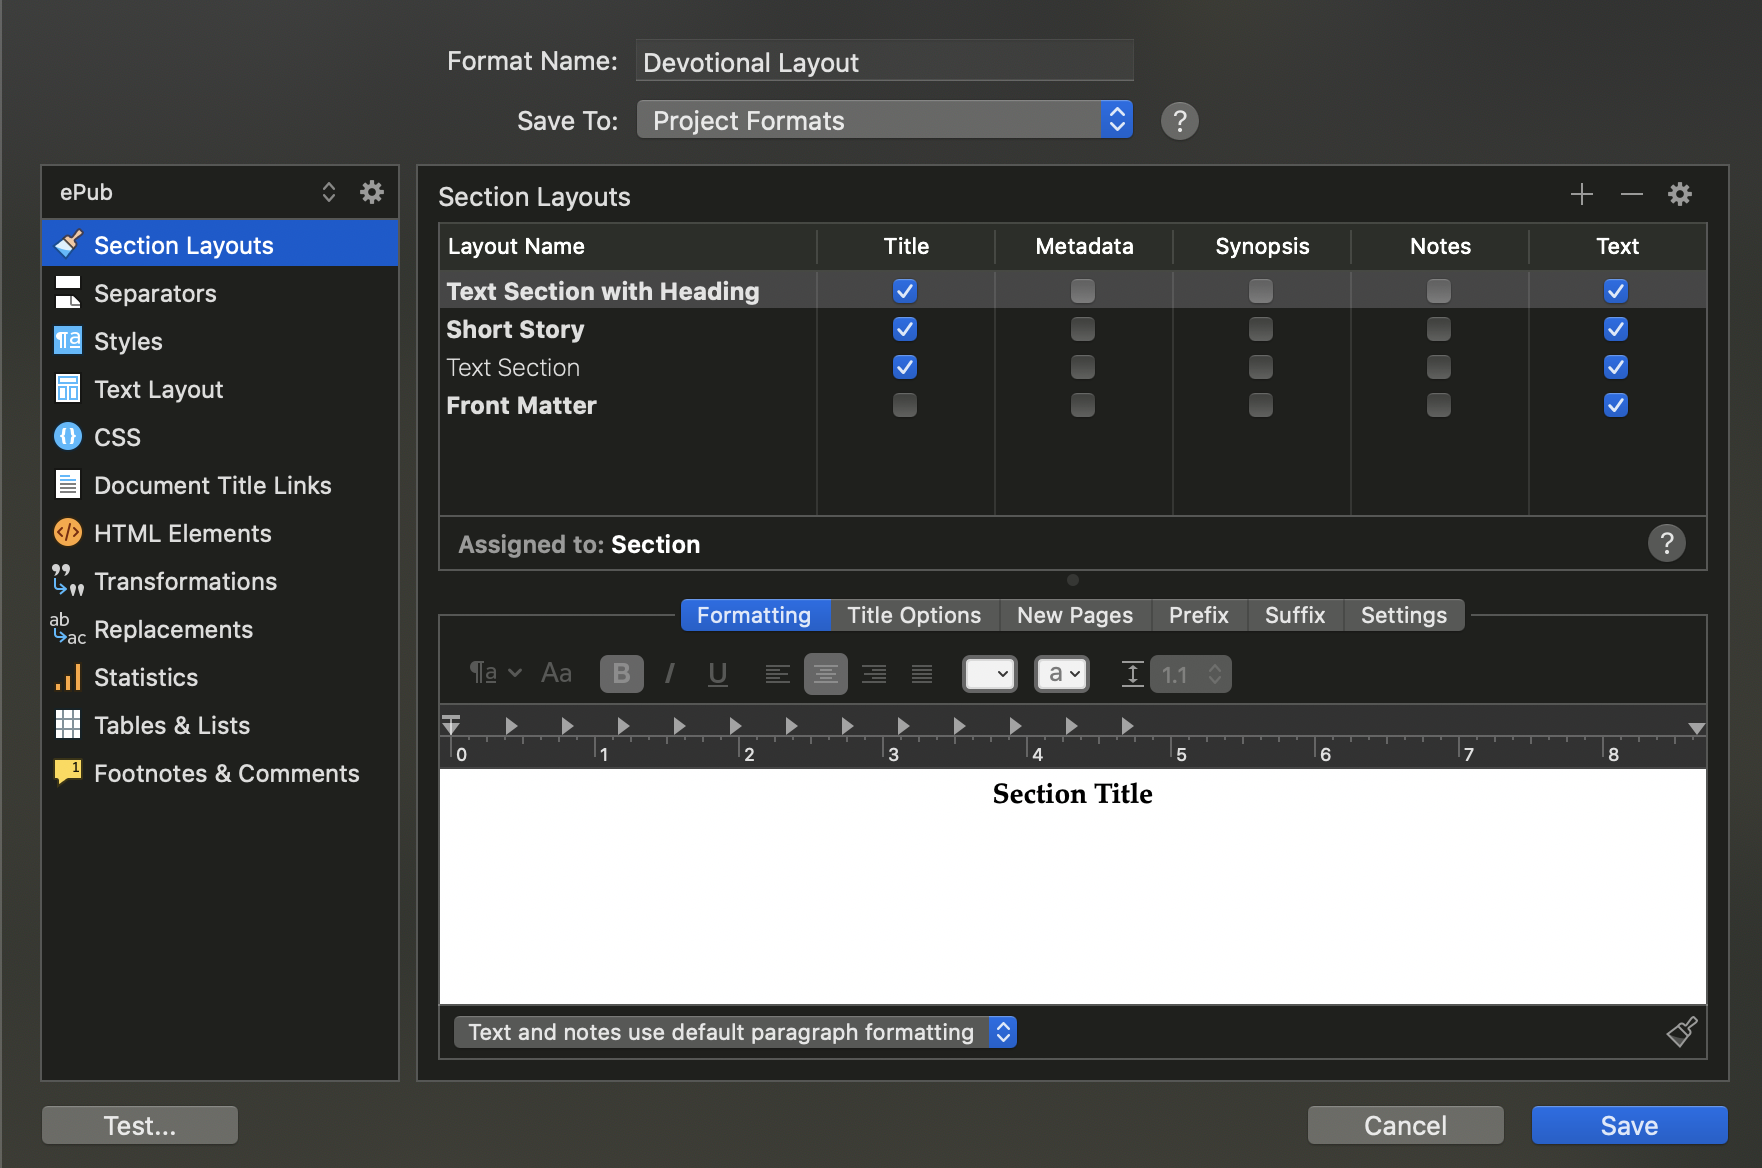
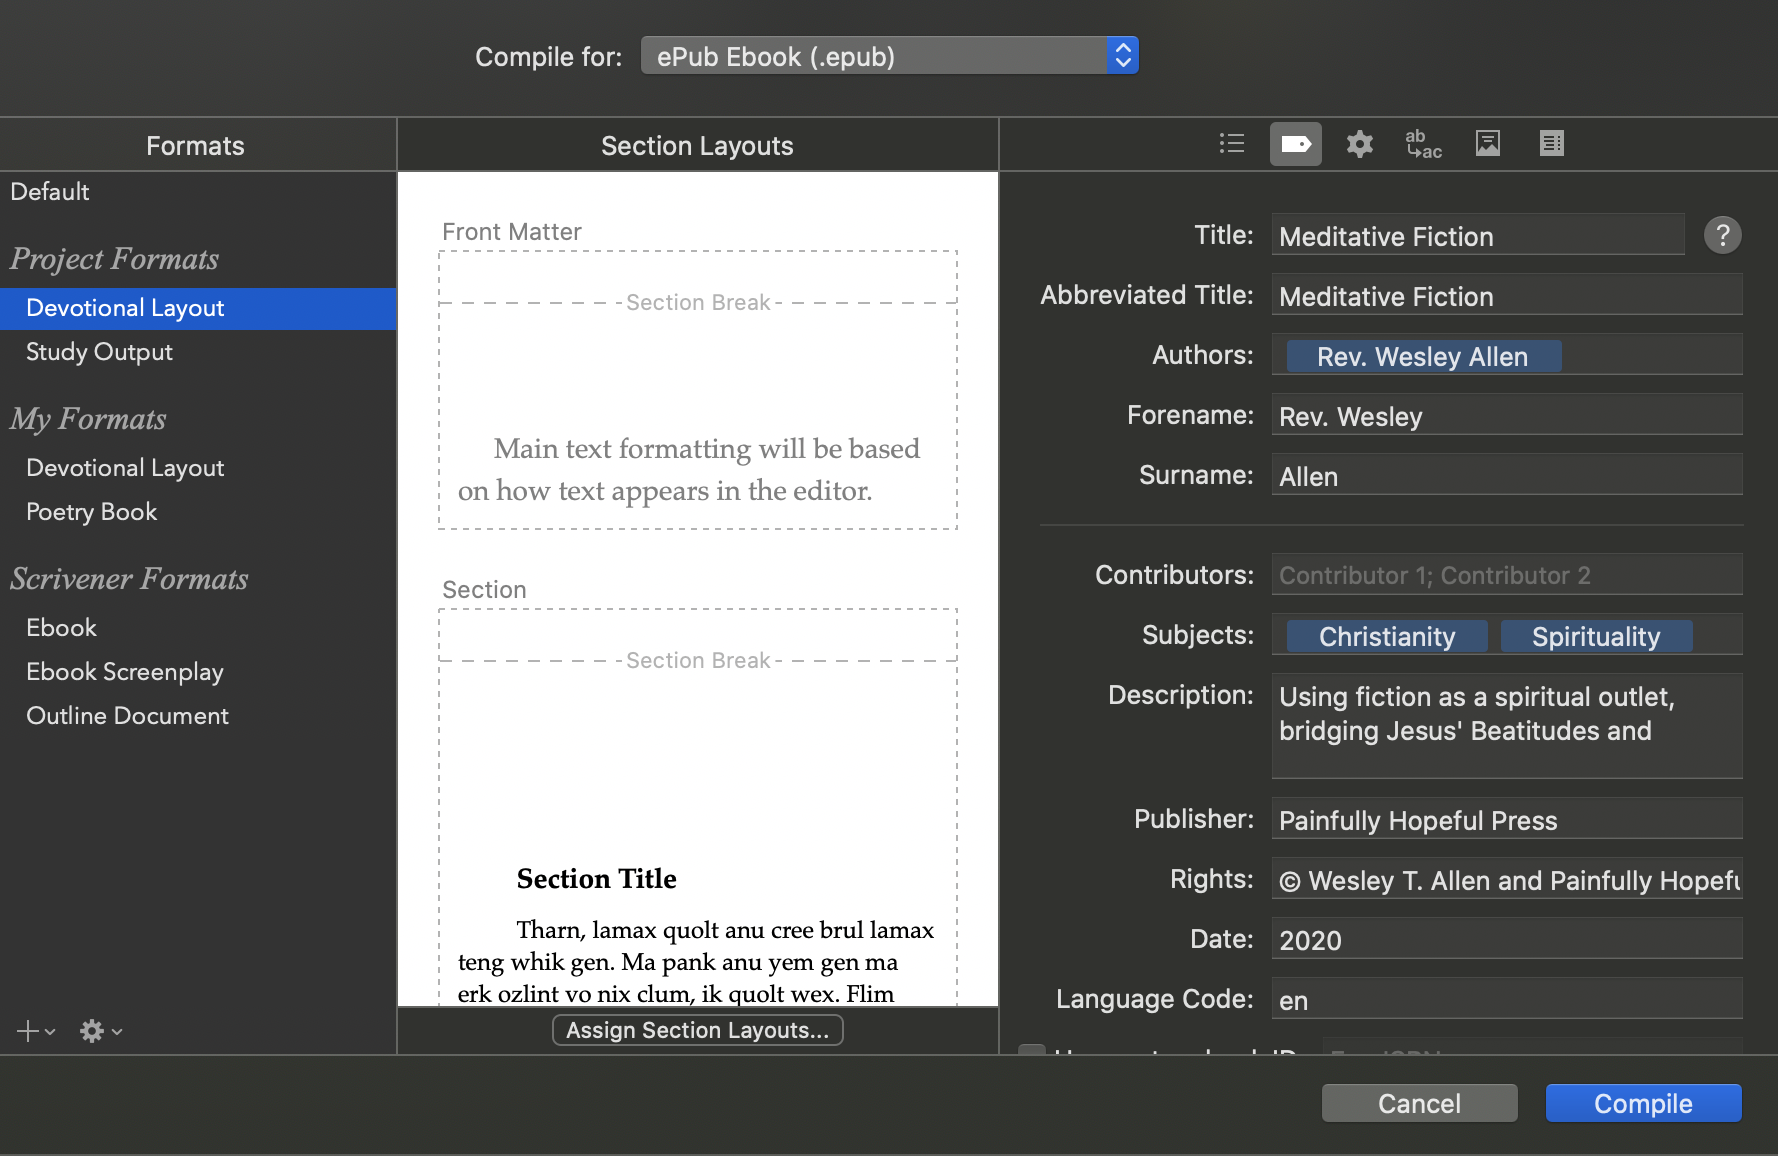
To get your eBook to look they way you want, each of your section types has to be linked to a layout that’s part of your compile format. The problem is, the default formats will include a large number of layouts which you may not need, many of which can look similar if you aren’t paying attention. At this point, click “Assign Section Layouts…” and then select a section layout for each section type in your project. Try to assign a layout which looks almost like you want it to appear in your output. You can then edit these layouts and customize it for your needs.

My typical practice, after initially assigning my section types to section layouts 7, is to right click on an existing format and either select “Duplicate and Edit Format” or “Edit Format.” From that point I will delete any section layouts I’m not going to use, which is made easier because assigned layouts are displayed in bold. I will also often, but not always rename these layouts to match the section types I created in the in project properties. From my perspective this helps reduce confusion moving forward.
At this point, clicking test in the editor will generate an eBook compiled from the current settings. If the formatting is what you want, and for many people it will be, you can click save and begin editing the meta data for the final eBook. If you are feeling a bit more adventurous, however, you can click on the CSS section of the of the editor and customize the output.
Playing with CSS
In order to create a custom stylesheet for my eBooks my workflow is to compile a text from the base format settings. I then open up the resulting ebook for editing in Sigil, an Open Source eBook editor. I navigate to the eBook’s stylesheet in the editor and make any changes I find appealing, testing them in the application’s preview window as I go.

When I am satisfied with my changes I copy the entirety of the style sheet and return to the Scrivener format editor. In the CSS section I select “Use Custom Stylesheet” and paste in my styles to the editor. I then run a test to see if Scrivener is compiling as I expect.
If you’re not familiar with CSS this can take some work, and even though I’ve been playing with CSS for over twenty years 8 I still find ways to confuse things. While this can take some effort, however, the ability to create a unique style for my eBooks makes the effort well worth it 9.
When you’ve created your compile format the way you like it, you can save it and then click on the metadata tab. In this dialog you will set information like the eBook’s title, author, subject, description, language, and ISBN.
Finally, click on the Cover tab and set the cover image for the eBook 10. With that, your custom eBook is ready to compile!
- It also leaves things for later discovery, which I find so much fun. ↩
- Create section types for the project, assign these section types to layouts, import styles from the project, edit meta-data, and compile. ↩
- And when Affinity Publisher gets footnote support, I’ll shorten that list to “Affinity Publisher” for my purposes. Word is only on the list because I know other people use it. ↩
- Duh. ↩
- Again, duh. ↩
- The shortcut key is ⌥⌘E. ↩
- This gets confusing. A “section type” is a project level setting. A “section layout” is for compiling only. ↩
- CSS 1 back in the late 1990’s. I feel old. ↩
- I do have one warning. If you aren’t comfortable editing XHTML or CSS, you may want to stay away from the “add ‘first-letter’ span style to first letter” option. This how you can enable drop-caps for your eBooks, but there are some bugs in the compiler which can create unexpected output. I’ve reported it, and it’s been acknowledged, but I don’t know when it will be fixed. ↩
- That’s a whole other discussion, beyond the point of this blog. ↩
Discover more from Painfully Hopeful
Subscribe to get the latest posts sent to your email.
