
I’ve been watching some tutorial videos on the excellent Affinity Apps the past couple of weeks, and discovered a trick in Affinity Photo I’d never before seen – Blend Ranges. After seeing this tool in action in several tutorial videos I couldn’t believe I’d never heard of it before. It’s makes compositing a ton of fun.
The essential function of Blend Ranges is to create a luminosity mask. That is, it creates a mask based on tonal values. For example, highlights can remain visible while shadows become transparent. This has some wonderful applications for composite photos.
Take, the below photo of the Tacony-Palmyra Bridge I took several years ago. It’s one of my favorite images of the bridge because the reflections off the water are wonderful.
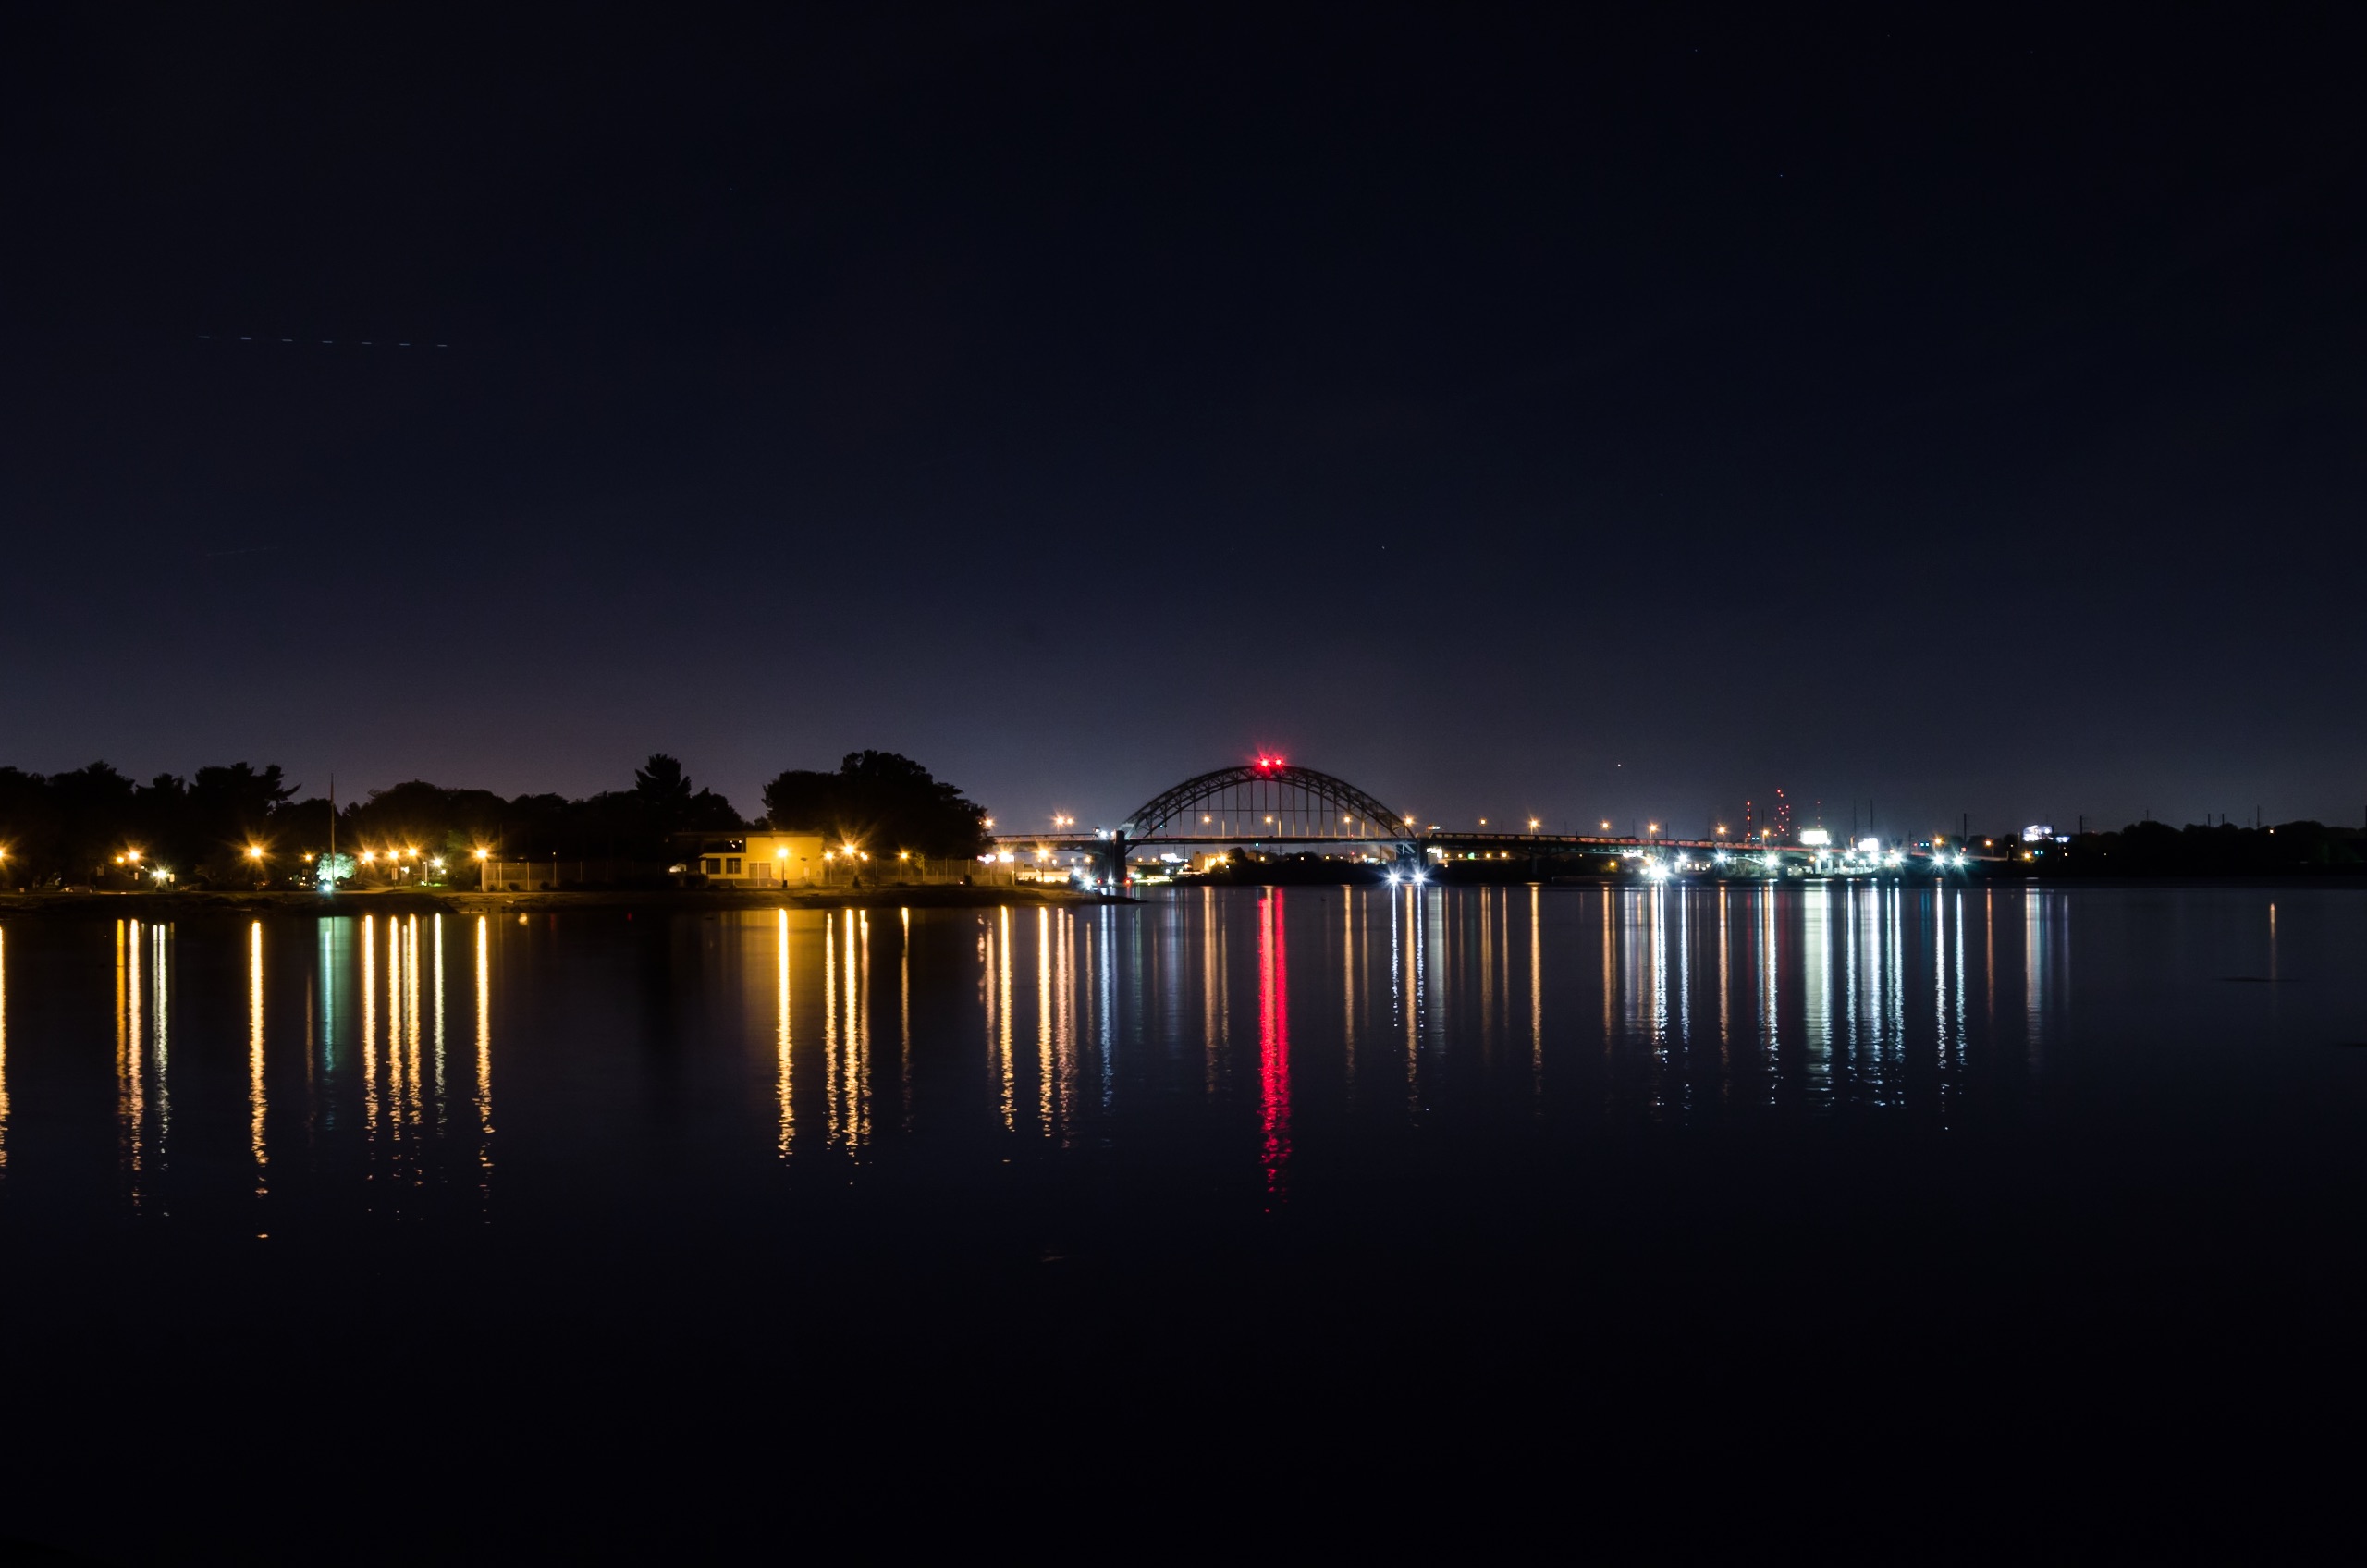
But what if I wanted to spruce up the sky a bit and put something interesting there? Perhaps something like this firework photo I took this past June?

How would I accomplish this? I can’t draw a manual mask around the flares of light, it would look terrible! But if I don’t mask anything the shadows of the trees and the darker sky from the firework photo are visible. It’s not a natural look.

I suppose I could use a blend mode like Screen, but that tends to leave traces of the background visible. Instead, I select my firework image layer and open up the layer options panel in Affinity Photo. Near the bottom of this panel are two options, “source” and “destination.” As I’m dealing with my source layer, I choose “source.” This brings up a curves-looking dialog which I manipulate as the below image shows.
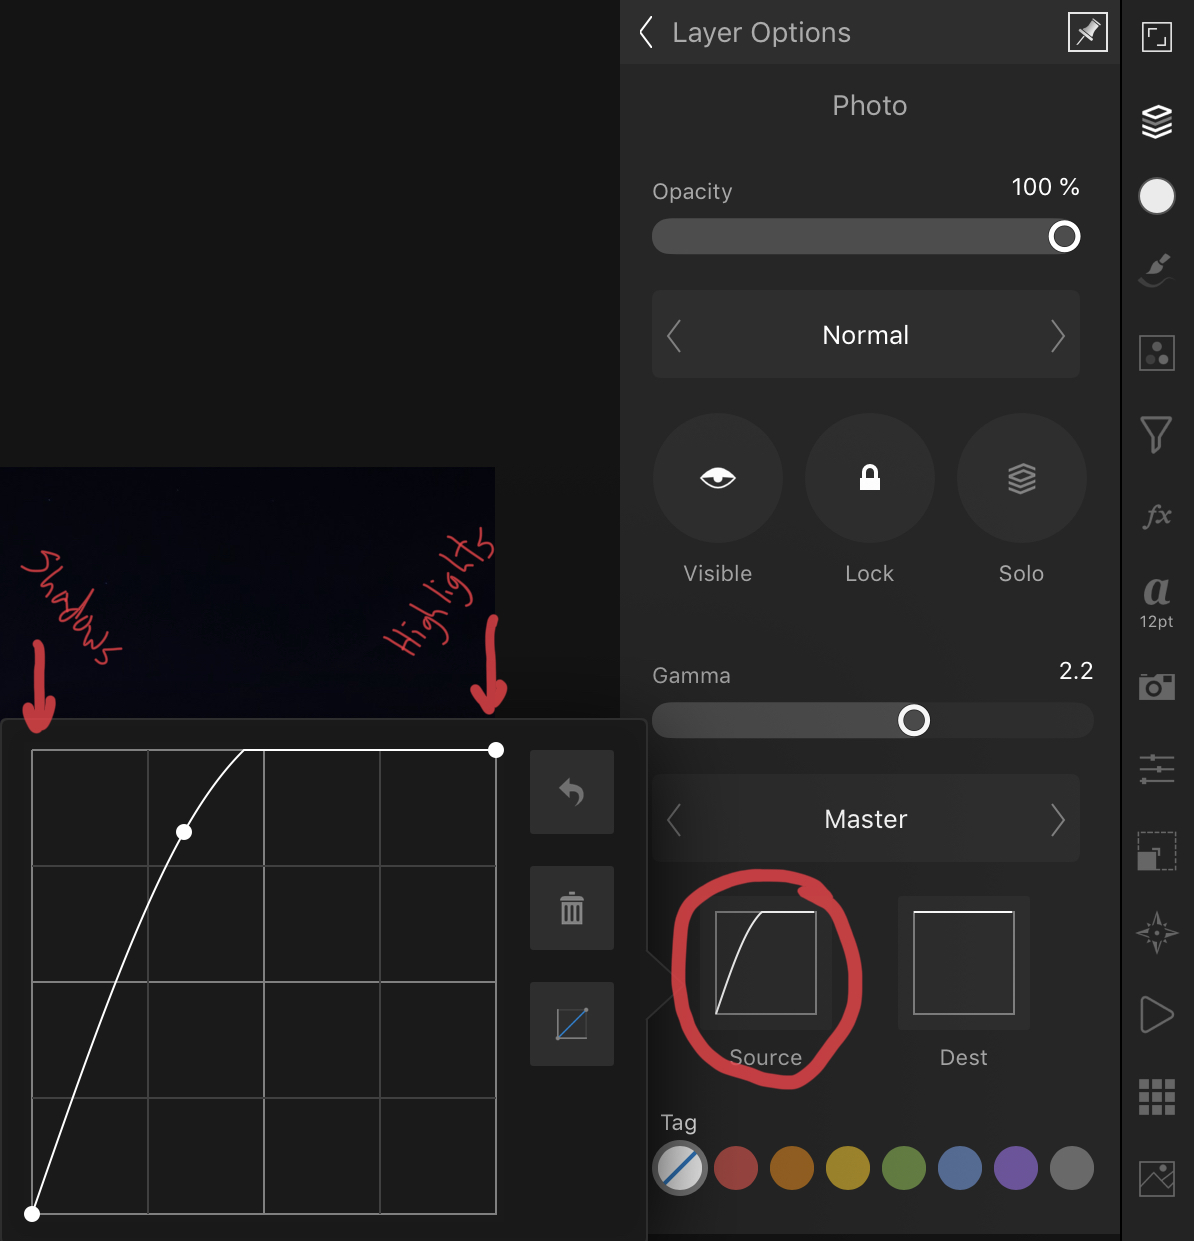
Why did I make it look like this? Because I’m trying to hide my shadows so the firework flares will appear on its own in the sky. Like curves, the left control is for shadows, and the right is for highlights. The top of this dialog is fully opaque, and the bottom is fully transparent. To capture the look I wanted, I brought down the shadows to the bottom, but also added a third node nearer to the mid-tones in order to not make the drop off so harsh. With my Blend Range so set, I get the below results.

No drawing, no messing around with selections. Just a clean composite of two photos. Why did I not learn about this forever ago?
Discover more from Painfully Hopeful
Subscribe to get the latest posts sent to your email.
